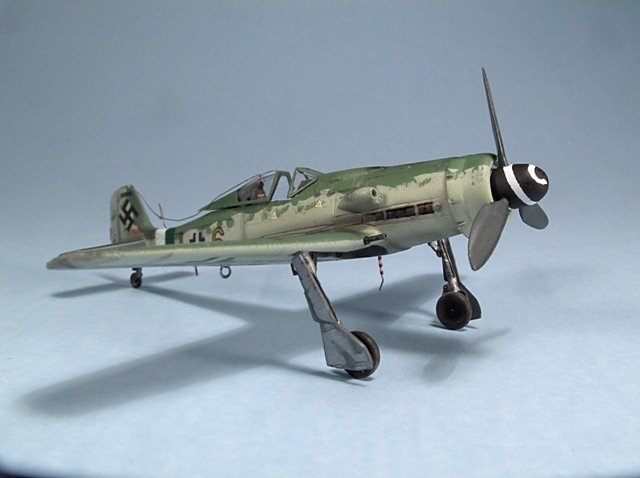
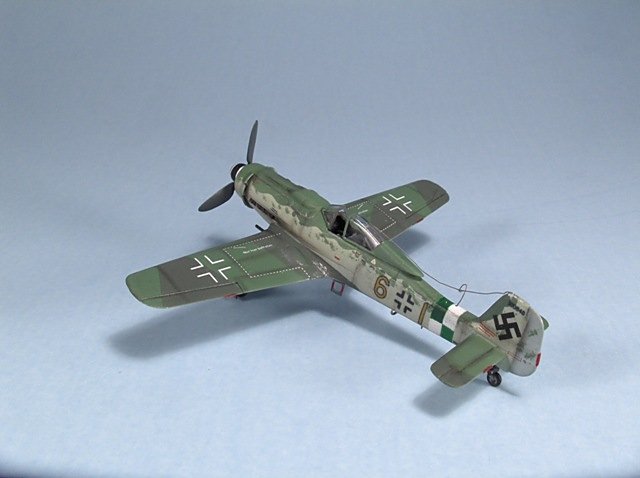
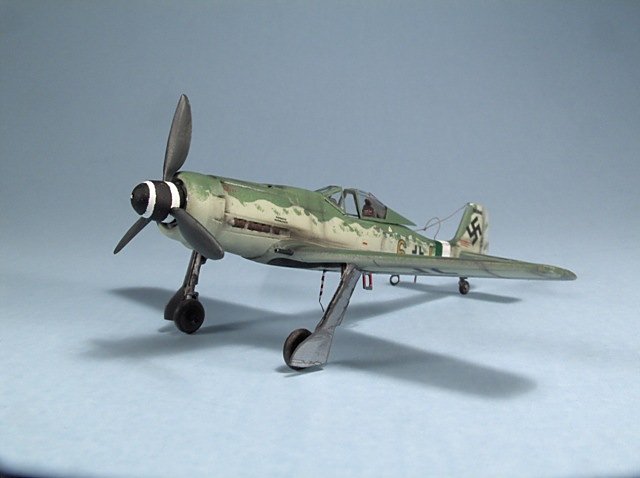
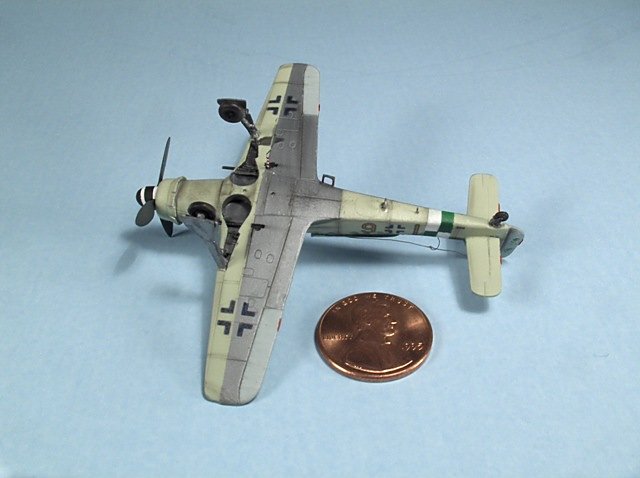
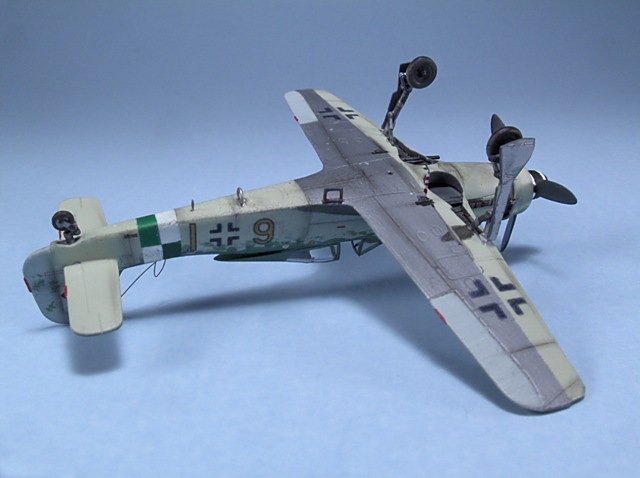
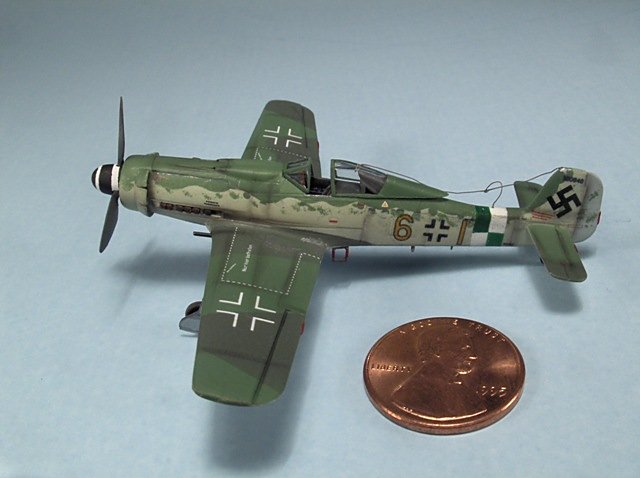
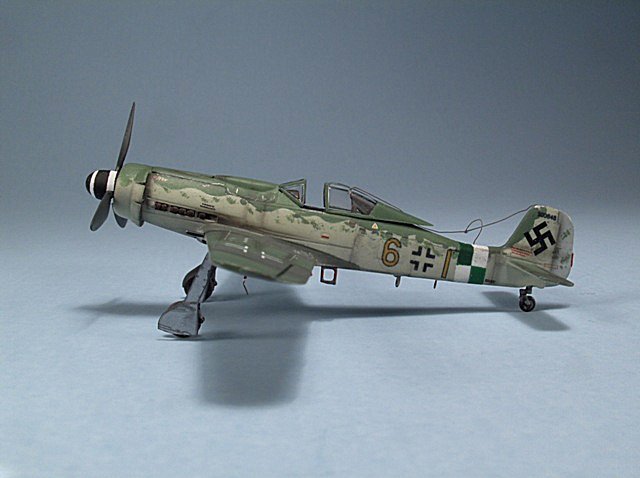
Did you get it right? If you guessed that I cheated a little with some forced perspective, you at least got that part right. This is the Platz 1/144 scale Fw 190 D-9. This is a real beauty of a kit.... well 2 beauties really since there are 2 complete birds in the box. The wing span is about 3 inches and the detail is really impressive. Engraved panels that, given the minute scale, are very well done, detailed landing gear with separate drag links, choice of canopies-regular or blown, and a center line rack with separate drop tank. The decal sheet is nicely printed in perfect register with markings for 4 aircarft. Unfortunately they are all from the well known Galland Circus.
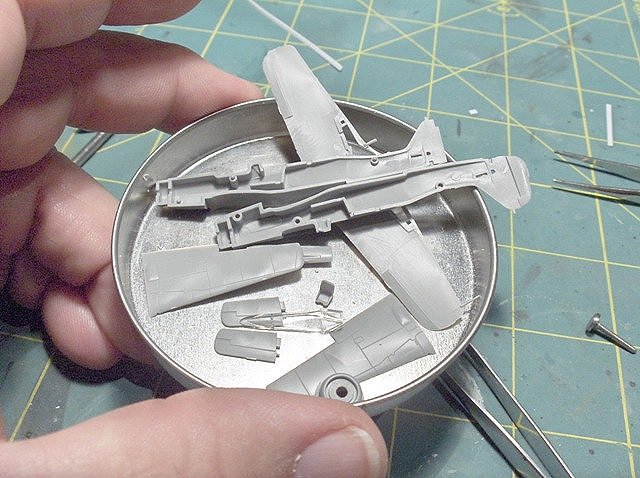
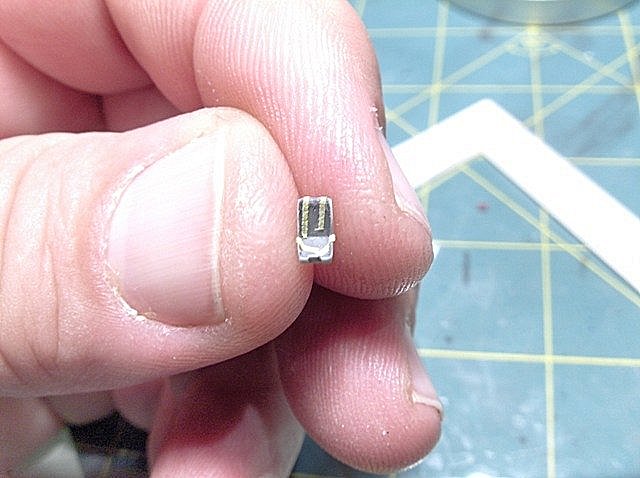
The fit of all the parts is very good with a very small amount of putty needed in 1 or 2 places. The photo to the left shows all the basic air frame part in my small part tin. In this all the parts are small parts. The photo on the right shows the tiniest little seat I've ever seen, with tape seat belts.
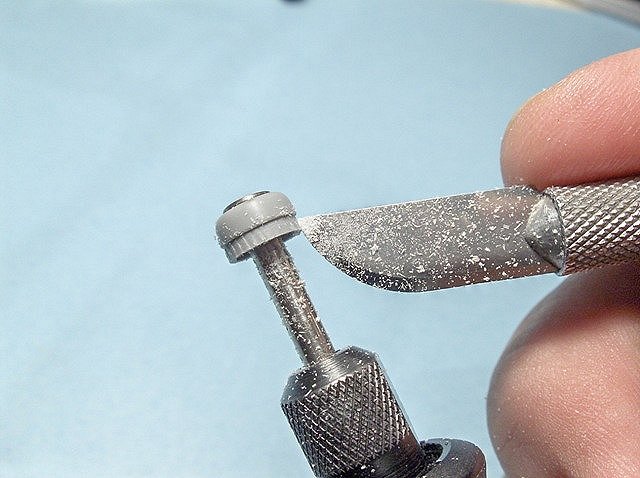
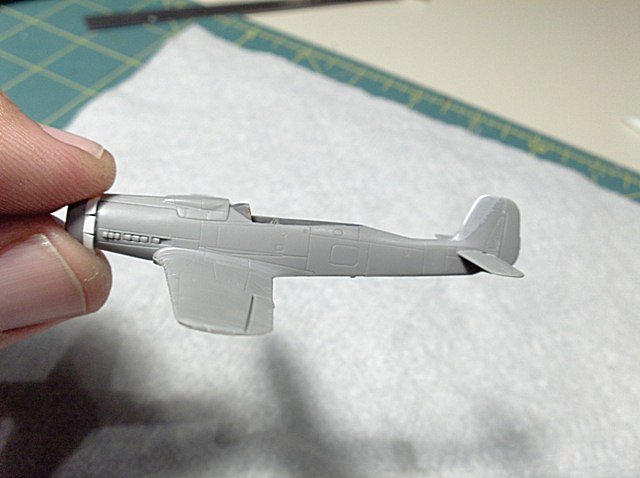
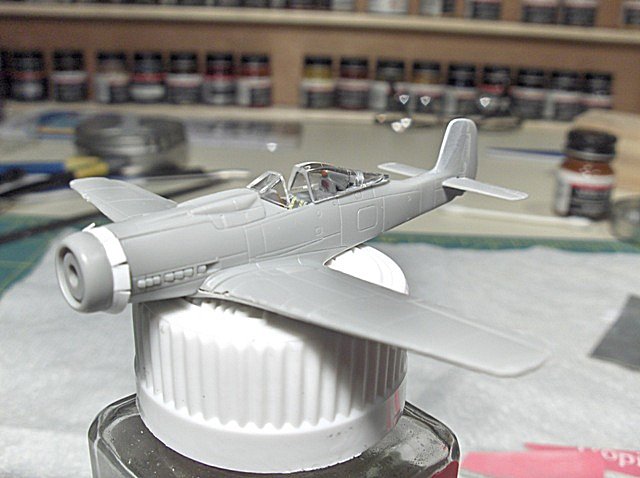
The molded cowl flap were taken off by chucking the cowl in a Dremel and using a sharp #10 blade like a lathe. All those years watching master carpenter Norm Abrams on TV has finally paid off. New flaps were made from some thin strip styrene.
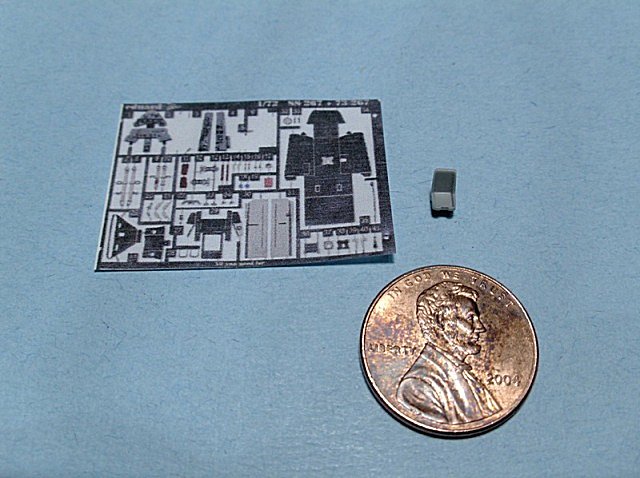
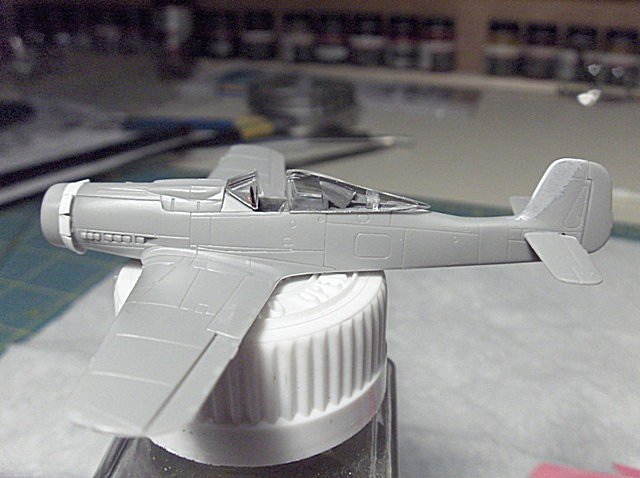
The only cockpit detail provided in the kit is the seat. I tool a color PE detail set for a 1/72 Fw and scanned at 300dpi. It was printed on a clear shipping label and applied to some thing sheet styrene. The instrument panel and side consoles were cut out and glued into the cockpit.
Most of the airframe together with a couple of my sausage like fingers for scale. To convert this to a "big Tail' version, a small plastic spline was glued to the front of the vertical stabilizer and filled with Tamiya putty. The rudder was cut off and about 1/16" was trimmed off the back of the vertical stabilizer and everything was sanded to final shape.
The canopy is molded in one piece and had to be cut. Even with a razor saw the kerf would be so wide, too much of the canopy would be lost to look right. Having 2 canopies comes in handy here. Cut and file the wind screen from one and the rear section of the canopy from the other.